


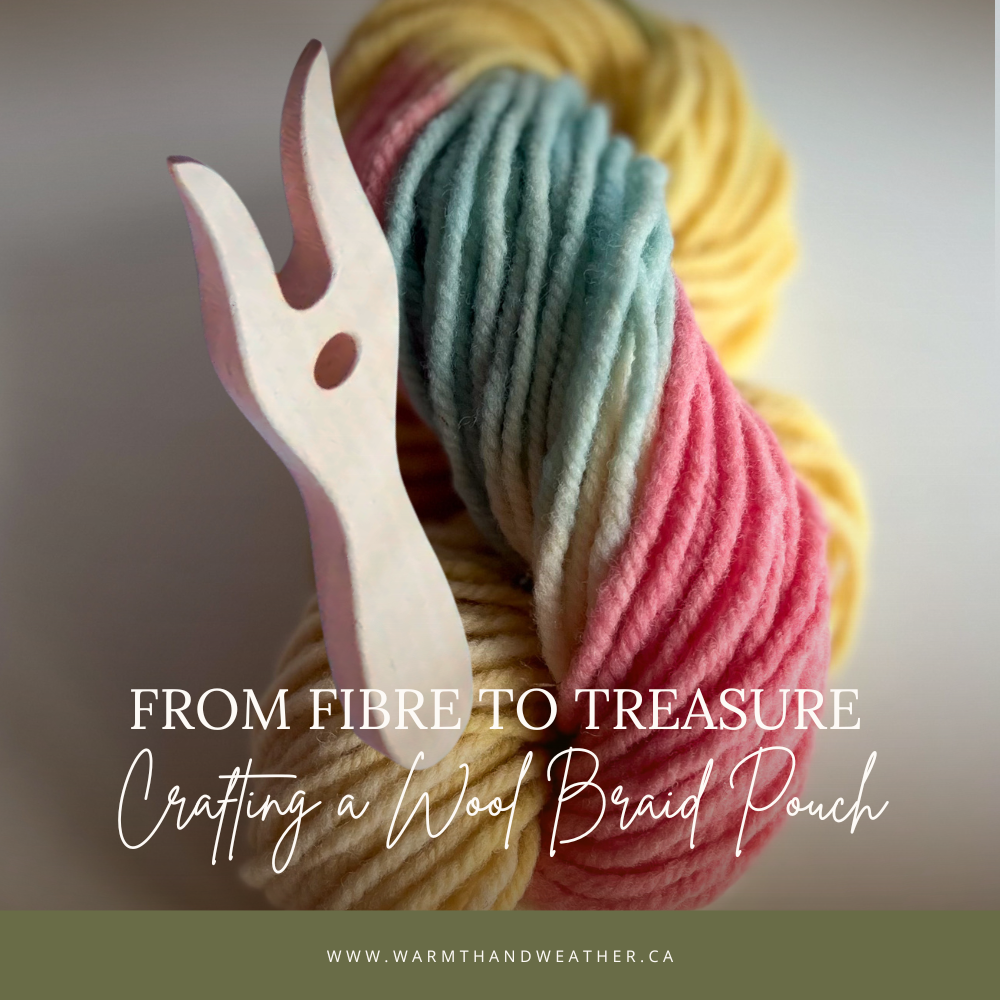
There’s something timeless about working with wool - the softness in your hands, the rhythmic motion of fiber passing through fingers, and the simple joy of creating something beautiful and useful. Today, we’re bringing back a little-known yet delightfully simple wool craft: using a lancet fork also called a braiding fork - to create sturdy, textured braids perfect for all kinds of handmade projects. One of the best things about this craft is its accessibility. It’s simple enough for older children to master with a bit of practice, yet meditative and rewarding for adults and seniors. Whether you’re looking for a cozy indoor activity, a creative way to spend time with family, or a mindful, hands-on project, this craft is a perfect fit.
A Bit of History
The lancet fork, or braiding fork, has roots in traditional European textile crafts. Historically, tools like this were used to create decorative braids, straps, and trims for garments. These durable woven bands could be used for everything from securing cloaks to embellishing household linens. The technique has remained largely unchanged for generations - a testament to its simplicity and effectiveness.
What You'll Need
- Filges 100% organic wool yarn
- Lancet fork (also referred to as a braiding fork)
- Large eye blunt needle
- Scissors

Getting Started
Thread the Yarn: Start by threading your yarn through the centre hole of your lancet fork. I like to leave 8 inches or so of extra yarn to make sure I have something to hold onto until the braid begins to form.

Weaving the Braid: Holding the fork in your non-dominant hand, weave the yarn in a figure 8 motion, beginning by going behind the right tine, around to the front, over and behind the left tine, then back around the front and behind the right tine again (above left). Once you have done your figure 8, while holding the working end taught in your non-dominant hand, grab the bottom piece of wool from the right tine and pull it over the top piece letting it come off and into the middle of the fork (middle above) . Repeat this motion with the left bottom piece as well. This simple action creates a structured braid that builds quickly (bottom left).

Continue the Motion: As you work, gently pull the woven section downward through the hole so that your braid continues to form at the base of the fork. Adjust your tension for a tighter or looser weave (below left).

Braiding a Long Chain: Continue braiding until you have a length of about 4-5 feet. This will give you enough working material for this small project, creating a small pouch with a strap. (below left)

Finishing Touches: Once you reach your desired length, remove the working ends of the yarn from the fork. Cut your yarn off the ball with 5 inches of extra at the end. Thread the end of the yarn through the holes where it was once on the fork. Tie a couple of knots to secure and finish off the braid.

Creating a Treasure Pouch: With your completed braid, you can form a simple pouch to hold small treasures. Coil and stitch the braid into a small bag shape, using your yarn, weaving in and out of your braid. You will notice a natural pattern form while sewing the pouch together, making this another simple and meditative part of the process.

Forming the Handle: Once your pouch is the right size, set aside a couple of feet of your braid to create the handle. Attach one end of the handle by weaving it through the pouch’s edge and securing it with a few reinforced stitches. Then, attach the other end to the opposite side, again weaving through and stitching it in place for a sturdy hold. Finish by tying a few knots and trimming any excess yarn.
You're all finished!
This pouch makes a perfect place to store special finds from nature walks, like small stones and acorns, or tiny trinkets that hold special meanings to your little one.
Creative Uses for Your Braided Wool
The beauty of this craft is in its versatility. Your finished wool braids can be used in so many ways:
-
Handmade Bracelets and necklaces - Create a rustic, cozy bracelet or necklace that’s soft and warm against your wrist or neck.
-
Decorative Trim - Sew braids onto the edges of scarves, hats, or even home linens for a handcrafted touch
-
Gift Wrap Ribbon - Add a wool braid to wrapped presents for a sustainable, handmade embellishment
- Bag Handles or Drawstrings - Sturdy and beautiful, wool braids can be incorporated into handmade bags or pouches
- Pot holders can be made by keeping the coil flat as you stitch the coil in a circle or any shape you desire.
In a fast-paced, digital world, there’s something incredibly soothing about a simple, hands-on craft. Working with wool and a lancet fork connects us to generations of makers before us, celebrating the beauty of natural fibres and traditional techniques. Whether you're crafting solo with a cup of tea or sharing the experience with loved ones, this wool craft is a wonderful way to slow down and savour the moment.
So pick up your lancet fork, some beautiful organic wool, and start weaving memories today!
Blog and photos by Courtney Audette