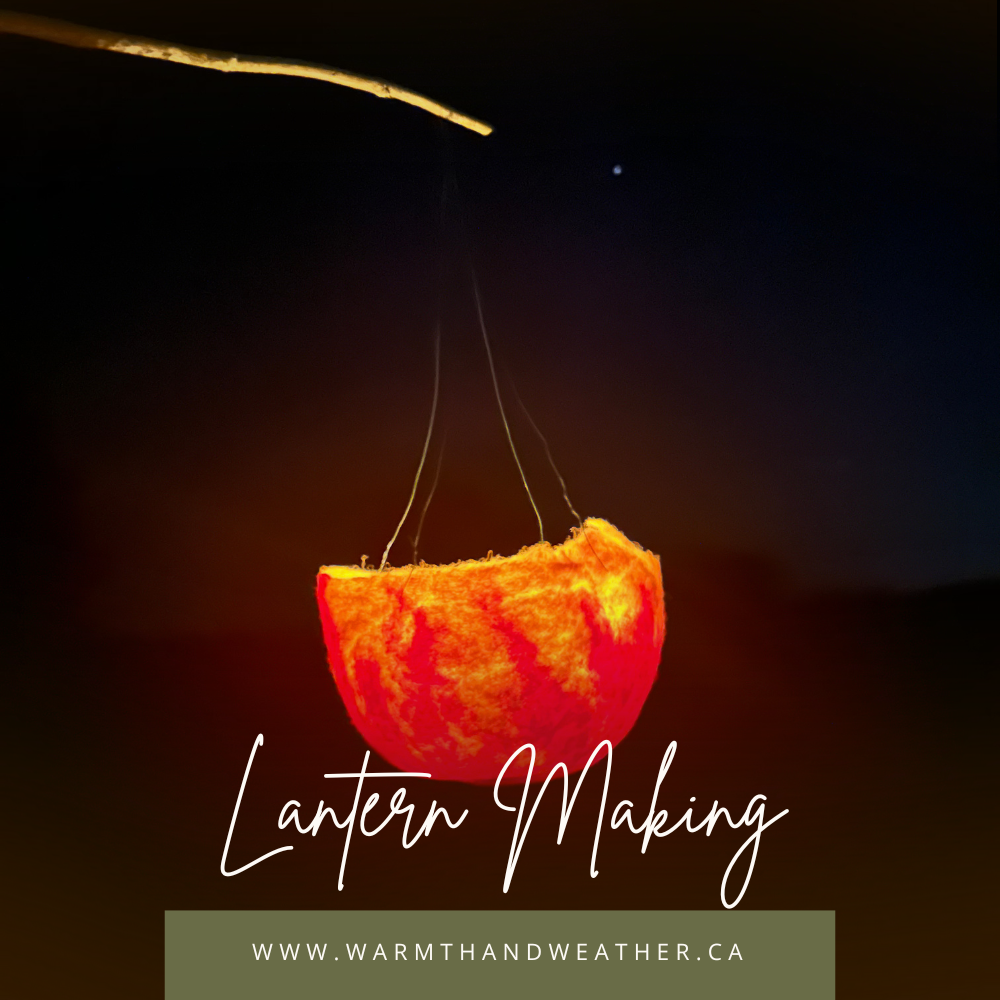
There’s something truly magical about this time of year, when morning greets us in darkness, and dusk arrives as we sit down for dinner. The warm glow of a candle or lantern brings comfort to these quiet evenings. When I was a kindergarten teacher, this season meant making lanterns with the children. We’d decorate glass jars with colourful tissue paper, twist wire for handles, and, just after dark, gather to walk a lantern-lit path, singing songs about light. It was a festival of pure wonder for the children—and for me.

Once, for my birthday in January, I organized a lantern walk with blue and yellow lanterns to reflect winter’s chill. It reminded me that we’re never too old for a touch of magic. There are so many beautiful ways to make lanterns, and this wool-felting project is one of my favourites. It’s simple, though it takes about an hour, and young children might need a bit of help starting the felting process. Take your time, enjoy each step, and let the magic unfold.

Materials
- Wool roving and/or batting (various colors or natural options)
- Bowl of warm water
- Olive oil soap (keeps your hands feeling good afterwards)
- Balloon
- Pantyhose
- Floral wire
- A stick
- Tealight candle
Choosing Wool Look for wool suitable for wet felting, like wool roving or wool batting. Be sure it hasn’t been overly processed, as this can prevent felting. Wool roving and batting can be found at Warmth and Weather, local knitting or craft shops, or online. Locally sourced wool is often better quality and affordable.
How Much Wool Will You Need? The amount depends on the balloon size and wool thickness. Lanterns pictured here weigh about 50 grams (0.10 lbs), so about 100 grams of wool per lantern should be plenty.

How to Make a Wet Felted Lantern
- Set up your workspace: Cover the surface with a waterproof cloth or tarp, and keep a towel nearby. Fill a bowl with very warm water. Gather your supplies close by.
- Blow up the balloon: Inflate it to the desired lantern size (about six to eight inches wide or smaller for a cute lantern).
- Wrap the balloon with wool: Separate wool roving into long, thin strips and wrap them around the balloon’s bottom half or up to three-quarters, ensuring no large gaps.

- Secure with pantyhose: Wrap the pantyhose around the balloon to keep the wool in place. Criss-cross yarn around the balloon to secure the wool fully.
- Start wet felting: Instead of dipping the balloon into the water (which can make the wool slip off), dip your hands in the water, get them very soapy and gently pat the wool. Continue dipping and patting until the wool sticks well.

- Rub and felt: Keep your hands soapy and rub the wool gently. Wet felting takes time and patience; the more you rub and massage, the stronger it becomes.
- Let it dry: Once the wool fibers look dense and smooth, let the lantern dry without rinsing. Place it in a warm area and wait for it to dry completely.
- Finishing touches: Once dry, pop and remove the balloon, and your lantern is ready!

Troubleshooting A wobbly, knobbly, or thin lantern is fine; imperfections add character! If the wool isn’t holding, it may need more felting time. You can fix loose spots with a felting needle or even a bit of glue if necessary.
Adding a Handle For a simple handle, use floral wire: attach four wires around the lantern and bring them together at the stick. Of course, a handle is optional—each lantern is beautiful in its own way.


