


There’s something truly satisfying about making something beautiful with your hands—especially when it brings colour, texture, and a touch of nature into your home. Felted flowers and butterflies are a perfect spring project, whether you’re crafting alone or with little ones. They’re cheerful, tactile, and surprisingly simple to make with just a few supplies and a bit of warm, soapy water.

Gather Your Materials
Before you begin, take a moment to gather everything you’ll need. It’s much more enjoyable when your workspace is ready and inviting. Here’s what to have on hand:
- White fleece
- Coloured fairy wool
- Olive oil soap
- A soap dish
- A large bowl or washtub for hot water
- A few towels (to catch any enthusiastic spills)
- Wooden Easter eggs (these make excellent forms—the wool clings to the wood beautifully, which really supports the felting process)
- Sharp pointed scissors

Set Up Your Work Station
Choose a comfortable spot where you can spread out a bit. Fill your bowl with water as hot as your hands can safely handle. If you’re working with children, make sure the water is warm enough to felt, but cool enough to be safe for little fingers.
Lay your towels nearby, and have your soap ready in its dish.

Begin Wrapping
Pick your first wooden egg and begin wrapping it with your chosen wool colours. Think about what you’d like to create—a tulip or a bright butterfly—and layer your colours accordingly. Wrap tightly, but not too thickly. The key is to keep it snug so the fibres will felt smoothly.

Soap, Dip, and Gently Begin Felting
Rub a bit of olive oil soap between your hands, then gently dip your wool-wrapped egg into the hot water. Bring it back out and begin to pass it slowly from one hand to the other, almost like you’re cradling it. This is the beginning of the felting magic.
As the wool fleece starts to pull tighter together, you can increase the pressure a bit, rolling and shaping the egg until the surface feels firm and tight to the touch. It’s a gradual process, and a peaceful one.
Let Them Rest Before Cutting
Once your felted eggs are firm and finished, give them a gentle towel dry. Now you can decide what each one will become—a flower, a butterfly, or maybe both!

For tulip-style flowers, use sharp scissors to cut a small cross in the top of the felt. Gently remove the wooden egg and shape the petals with your fingers. Let the flower dry standing upright in the shape you’d like it to keep.

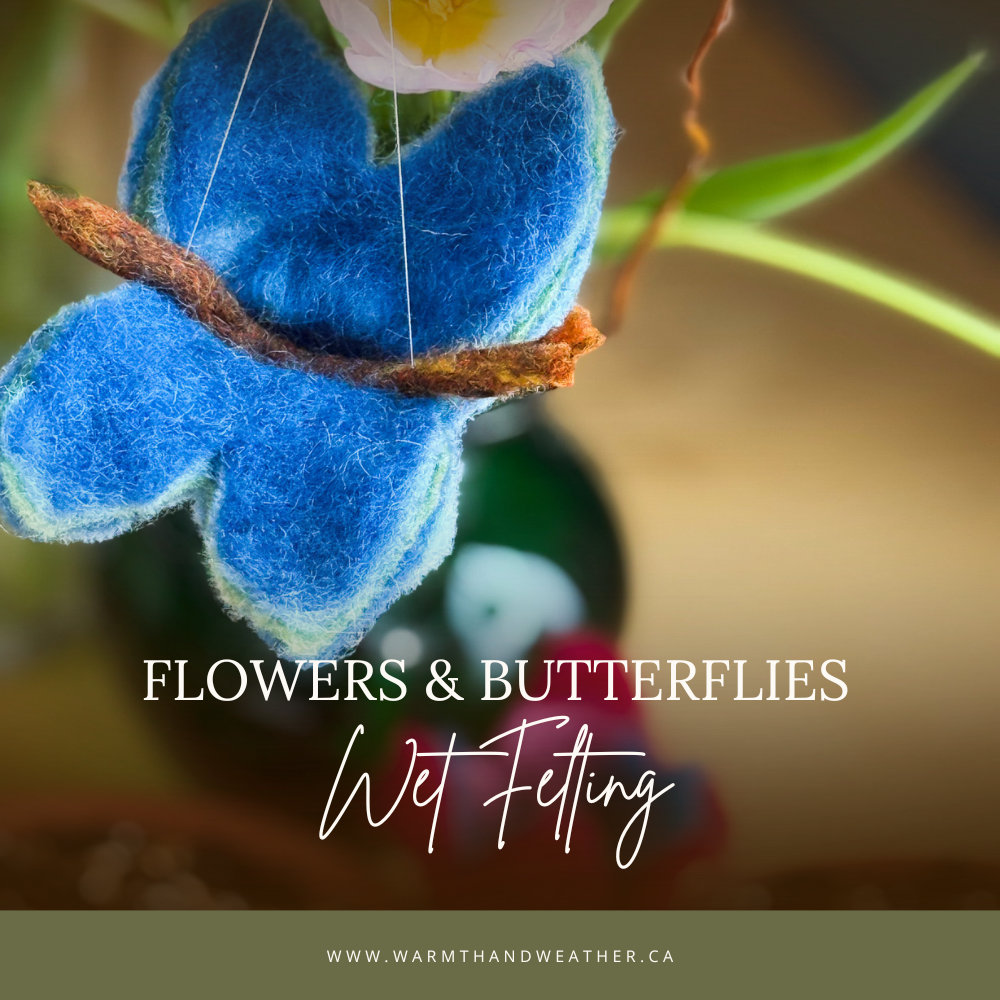
For a butterfly, cut a cross but make one line longer down the side and open the felt into a butterfly shape. Slightly curl the wings upward with your fingers and let it dry in that lifted shape.
Add the Finishing Touches
While your butterflies dry, take a small bit of wool and wet felt a little body for them—don’t forget the antennae! Once it’s dry, stitch the body gently onto the centre of the butterfly with a needle and thread.
Add a bit of string, and your creation is ready to hang from a branch, a windowsill, or anywhere you want a little touch of handmade joy.
A Craft to Savour
This project is as much about the experience as it is about the result. There’s something grounding and lovely about the rhythm of felting, the scent of olive oil soap, and the colourful wool in your hands.
So take your time. Enjoy the process. And when you’re finished, enjoy your beautiful creations—made with your hands, shaped by your imagination, and filled with springtime charm.
