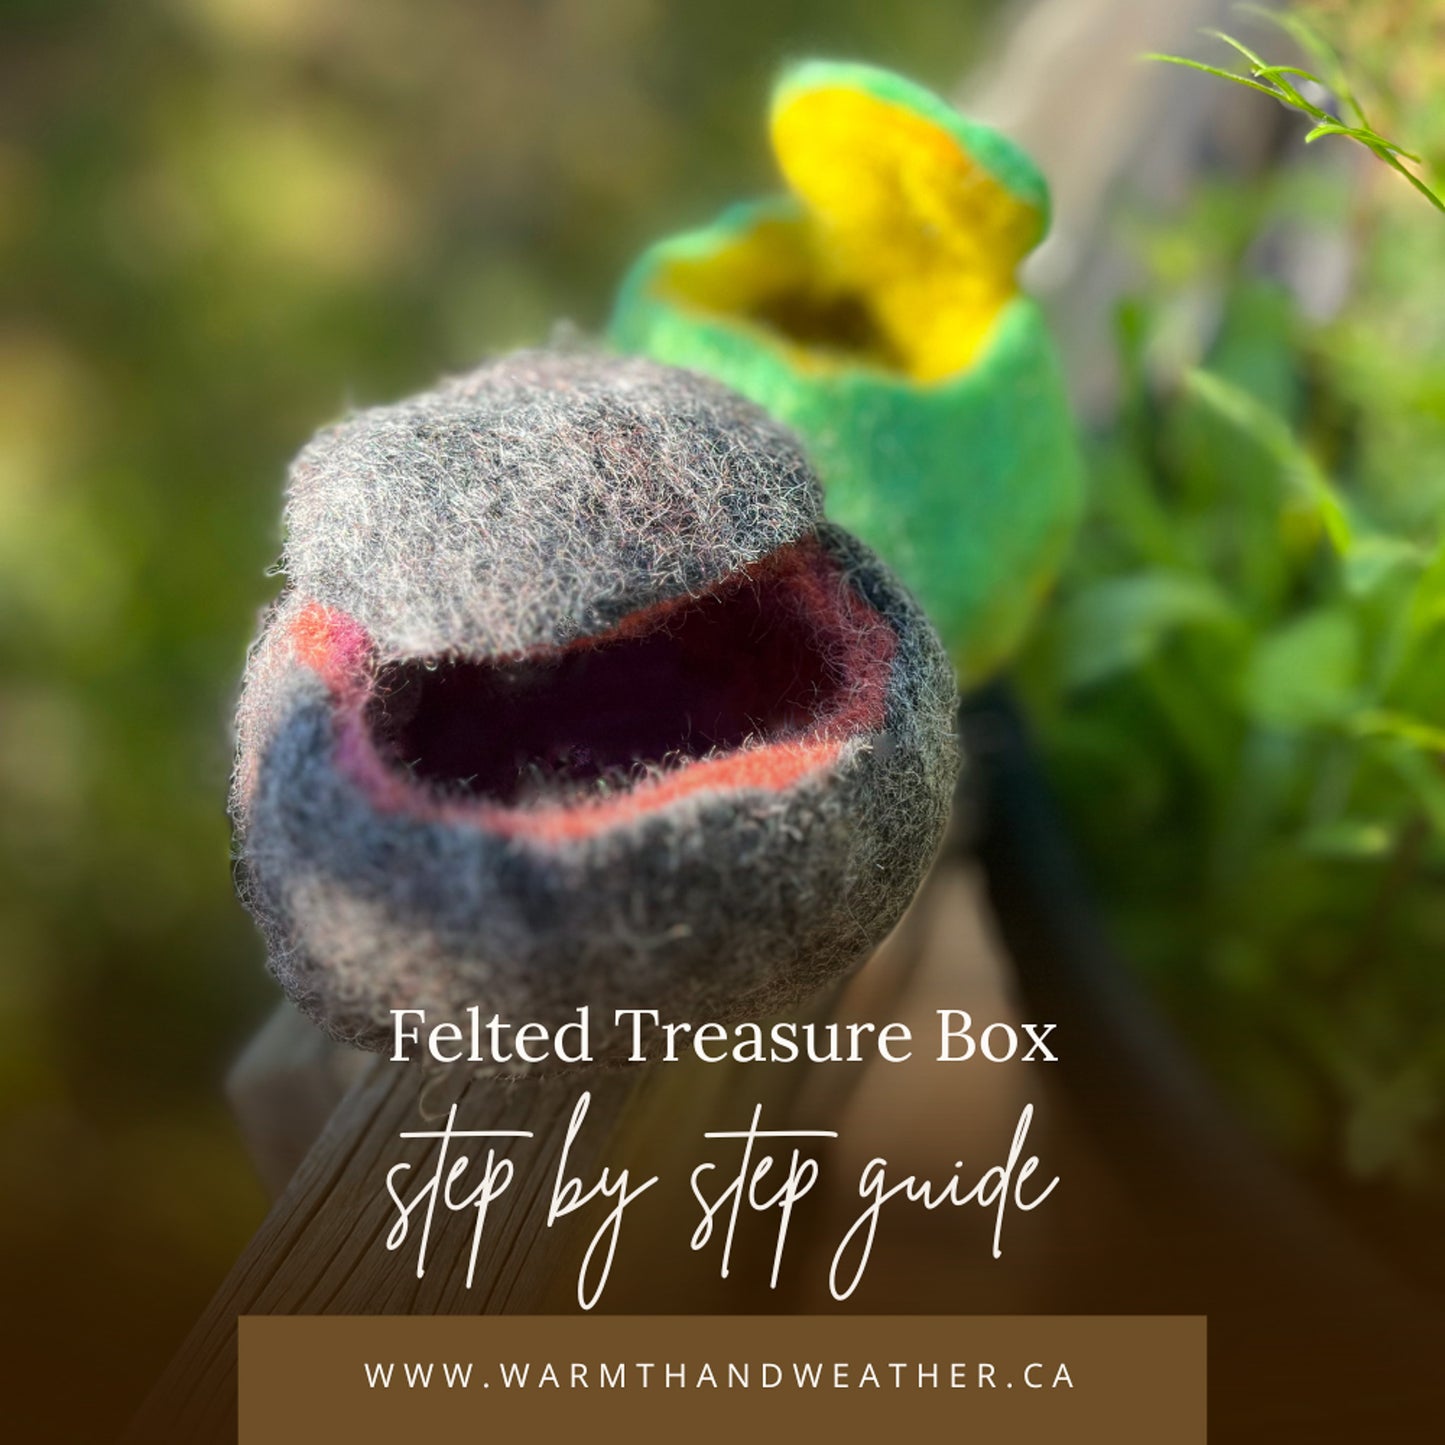
For this weekend's crafty blog, we’re making little treasure boxes using fairy wool!
Wet felting is a wonderfully tactile activity that’s easy and fun to do, even with younger children. Plus, there’s something magical about turning wool into a soft, snug little container. These felted treasure boxes are perfect for holding tiny trinkets, spare change, or any small treasures kids (or adults!) want to keep safe. A pair of little hands and I took advantage of one of the last warm, sunny days and set up outside for this project. Follow along with us in this simple, hands-on activity that brings warmth, creativity, and a touch of whimsy to your day!
Materials Needed
- Large bowl
- Hot water (as hot as your hands can handle)
- Olive oil soap (I love it because my hands are so soft afterwards!)
- Fairy wool in varying colours
- A round rock that fits nicely in your hands
- Scissors
- A couple of towels
- If you are working inside a waterproof tablecloth is helpful
Instructions
Prepare your materials: Choose the fairy wool colours you’d like your treasure box to be. Fill your bowl with hot water and have your towels ready.
Wrap the rock: Gather long strips of fairy wool and begin wrapping them snugly around your rock. Wrap a couple of layers around the entire rock, ensuring there are no holes or gaps.
Add more colours (optional): If you’d like to include additional colours, repeat the wrapping process with each one. If you’re using only one colour, make sure to wrap a substantial amount of fairy wool around the rock to ensure the box’s integrity when finished.

When your rock is completely wrapped, wet your hands and begin to gently press the wool. Slowly pour hot water over the wool-wrapped rock, pressing lightly as you go. The goal here is to saturate the wool evenly without shifting it too much.
Once the wool is wet, rub olive oil soap over your hands and gently rub the wool. You don’t need to scrub—just use gentle pressure to start the felting process. Continue to rub and turn the rock, adding more hot water and soap as needed.
As the wool begins to felt, you’ll notice it shrinking and hugging the rock more tightly. You can gradually increase the pressure as the fibers start binding together. Keep going until the wool feels firm and smooth, and no loose fibers remain.
When you’re satisfied with the felting, rinse the rock and wool under cool water to remove any soap. Pat it dry with a towel and leave it to dry completely.
Once dry, carefully cut a slit along the top of the wool and remove the rock. Be sure not to cut too deeply—you want to preserve the integrity of the felt. Shape the edges of the opening as needed, and your treasure box is ready to use!

As shown in the photo above, the wool will begin to tighten around the rock. As you continue working it in the water, it will become smooth and sturdy.
You’ll know the felting is complete when you can squeeze the rock and feel no gaps or wiggle room between the outer wool and the inner rock.
Once finished, wrap the felted rock in a towel and squeeze it to remove any excess water from the wool.

After removing the excess water, you can begin taking the rock out of its newly felted enclosure. Grab your scissors and carefully cut into the felted wool, ensuring you reach all the way through to the rock. Make smooth, intentional cuts through the layers of felted wool.
Cut a hole to your desired size for the lid, keeping in mind that the bottom of the treasure box needs to stay intact, and the opening must be large enough to remove the rock.
Once the hole is cut—whether fully removed or partially attached (as shown above)—start gently working and wiggling the rock out. Be patient and gentle; with a bit of time, it will come out!
Ta-da! You now have your very own little treasure box, made with love and gentle work!

You can fasten a button or ribbon to the top with thread to create a little handle, or you can leave the top untouched, for more of a 'hidden' treasure box feel.
Soon the treasure box will become filled with shiny things, tiny toys, coins and memories. Our treasure boxes have found their homes and uses, where will yours end up and what lovely surprises will they hold? We can't wait to see!
Photos and blog by Courtney Audette


