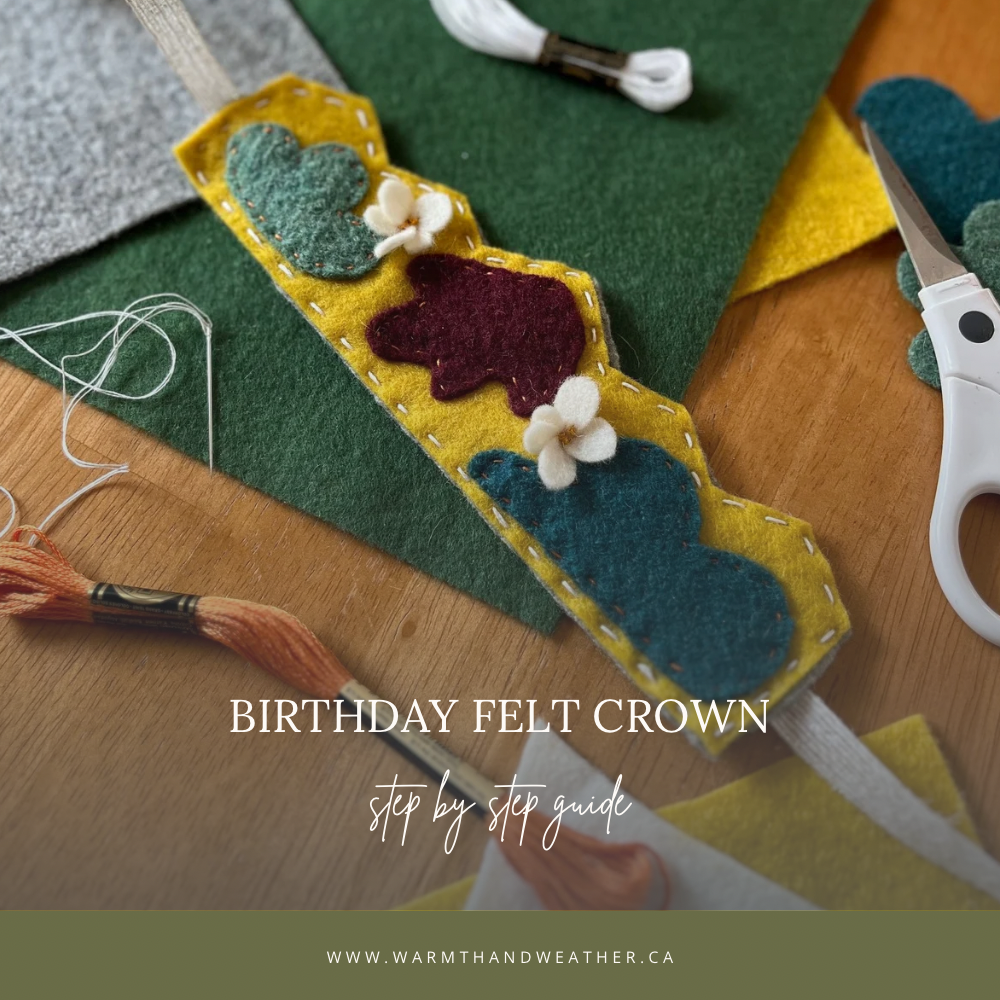
Il est temps de faire preuve de créativité avec la magie du feutre de laine ! Nous allons fabriquer notre propre couronne en feutre à l'aide de la collection Filges Crafting ! Le feutre de laine est non seulement doux et durable, mais aussi agréable à travailler. C'est le matériau idéal pour fabriquer des couronnes uniques et magnifiques pour les petits ou pour des célébrations spéciales. Avec les couleurs vives de Filges, vous pouvez laisser libre cours à votre imagination et concevoir une couronne aussi spéciale que la personne qui la porte. Prenez votre feutre et préparez-vous à fabriquer quelque chose de vraiment enchanteur !
Matériel nécessaire :
Feuilles de feutre de laine de différentes couleurs, aiguilles à coudre, fil à broder ou fil ordinaire de différentes couleurs, ciseaux, ruban ou élastique et un marqueur.
Rassemblez vos fournitures et trouvez un endroit bien éclairé pour démarrer votre couronne.
Commencez par tenir un morceau de feutre contre votre front pour mesurer la taille dont vous avez besoin. Marquez la largeur et notez où couper le feutre.

Choisissez la forme que vous souhaitez pour votre couronne : ondulée, pointue ou simple rectangle, selon vos préférences !
Dessinez la forme de votre couronne au marqueur ou à main levée et découpez-la. C'est la base de votre couronne.
Prenez un deuxième morceau de feutre et coupez-le pour qu'il ait la même forme que le premier morceau. Mettez-le de côté pour plus tard.

Maintenant, amusons-nous un peu ! Choisissez comment vous souhaitez décorer votre couronne.
J'ai décidé d'utiliser des fleurs en feutre de laine prédécoupées, que j'ai découpées en morceaux plus petits pour les adapter à ma couronne (comme on le voit ci-dessus). J'ai également découpé de petits cercles, je les ai superposés et cousus ensemble pour créer de petites fleurs (comme on le voit ci-dessous). Je les ai terminées en ajoutant quelques nœuds français au centre pour compléter les fleurs. (Voici un lien sur la façon de faire un nœud français ).

Jouez avec les formes, les couches et les couleurs pour trouver le design parfait pour votre couronne ! Pour une couronne d'anniversaire, découpez votre âge en étoiles ou en gros chiffres.
Une fois que vous avez décidé où placer tous vos éléments, il est temps de les coudre. Vous pouvez utiliser du fil à broder ou du fil à coudre ordinaire : tout ce que vous avez sous la main fonctionne ! Si vous utilisez du fil à broder, je vous recommande de séparer le fil et d'utiliser seulement 2 brins. J'ai choisi des couleurs complémentaires à mon feutre pour une touche de couleur supplémentaire.
Pour coudre vos pièces décoratives sur la couronne, commencez par faire un nœud à l'extrémité de votre aiguille enfilée. Ensuite, insérez l'aiguille depuis l'arrière de la couronne, en la tirant vers l'avant, puis revenez vers l'arrière. Répétez ce processus jusqu'à ce que l'élément soit solidement fixé. C'est une tâche très simple, et les enfants plus âgés peuvent le faire avec un peu de supervision !

Une fois toutes vos décorations cousues, il est temps d'ajouter le morceau de feutre du dos (celui que nous avons découpé plus tôt) et le ruban ou l'élastique.
Commencez par coudre la pièce de support à l'arrière de la couronne de la même manière que vous avez attaché les décorations (en tissant de l'arrière vers l'avant) jusqu'à ce que la pièce entière soit attachée.
Ensuite, mesurez deux longueurs de ruban, en vous assurant qu'il y a suffisamment de surplus pour faire un nœud. Cousez le ruban sur les côtés de la couronne, près de vos oreilles. Veillez à coudre uniquement à travers la pièce de feutre arrière, et non à travers la pièce décorée devant. Cousez soigneusement, car les points seront visibles depuis l'arrière. 
Une fois le ruban attaché, vous avez terminé !
Maintenant, portez votre couronne avec fierté, que ce soit pour vous déguiser, pour fêter un anniversaire ou simplement pour vous sentir spécial ! Nous espérons que vous apprécierez de nous suivre et n'hésitez pas à nous taguer lorsque vous partagez des photos de vos couronnes terminées. Nous avons hâte de les voir !
Blog et photos par Courtney Audette


