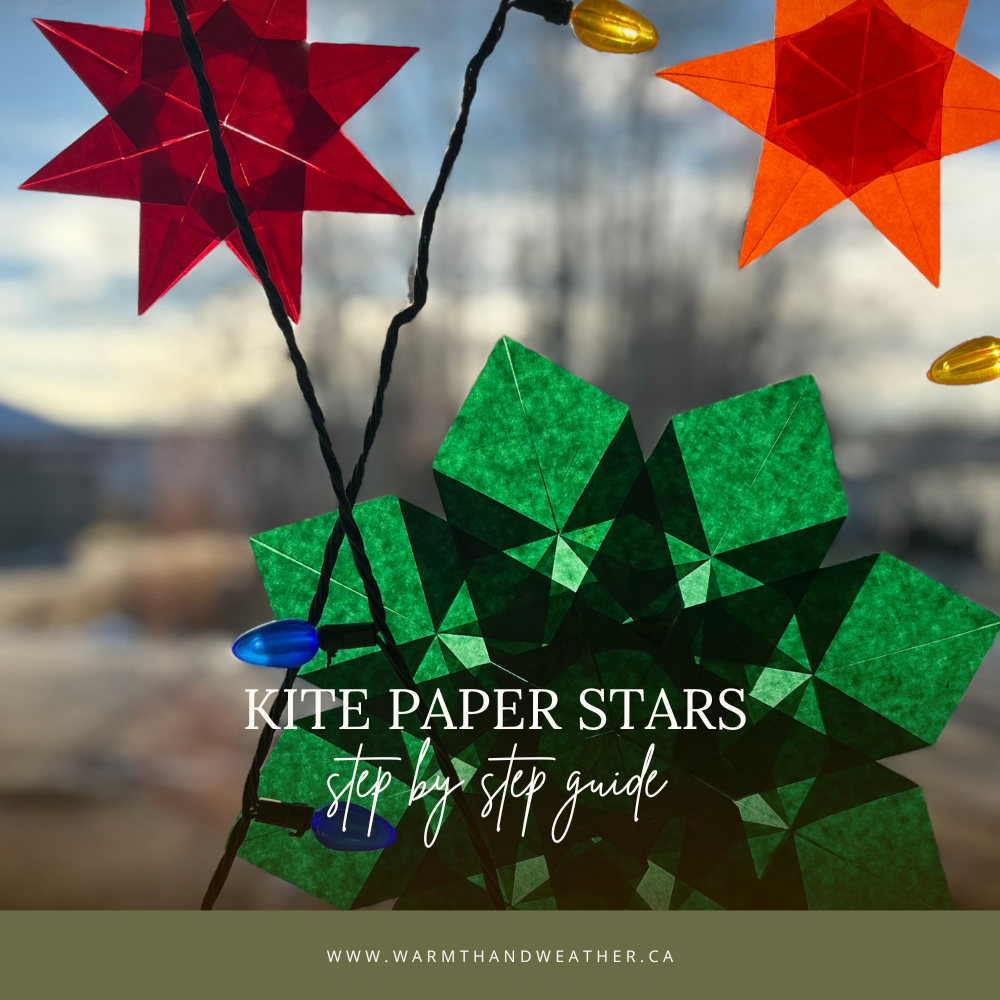
Kite paper stars are a simple and beautiful way to bring cheer and brightness to your home during the grey days of winter. This easy craft is perfect for kids to take part in, and the finished stars make stunning window decorations. Follow our step by step guide to help your create your own festive stars.
This is just one of many versions of a kite star, there are endless ways to fold and create designs! A quick internet search will provide you with more patterns. Thanks to Bella Luna Toys for their post, which we used for inspiration. You can view their blog here.

Materials You'll Need:
- Kite paper (for smaller stars, cut larger sheets into four equal squares)
- Glue stick
- Flat surface for folding and assembling
- Scissors
- Tape to hang your finished stars
Step 1: Prepare Your Kite Paper
Start with eight squares of kite paper. If you want a smaller star, cut larger pieces into four equal squares.

Step 2: Make the Guiding Folds
- Take one square and fold it in half.
- Fold it in half again, creating four smaller squares.
- Unfold it back into the large square. The folds will act as guidelines to ensure your lines are even.

Step 3: Fold Into a Kite Shape
- Fold each corner of the square toward the center point, creating a smaller square.
- Turn the paper so it faces you in a diamond shape.
- Fold one side of the diamond into the centerline.
- Fold the opposite side into the centerline to create a kite shape.
- Use a glue stick to secure these two folds in place.
Step 4: Repeat for All 8 Squares
Repeat the folding and gluing process for the remaining seven squares of paper.
Step 5: Assemble the Star
- Take your first folded kite and place it on a flat surface with the folds facing up.
- Glue one side of the next kite onto the first, aligning the edges carefully.
- Continue gluing each piece together, layering one on top of the other.
- When you reach the final piece, tuck its edge under the first piece to complete the pattern.


Step 6: Display Your Star
Once the glue has dried, your kite paper star is ready to hang in a window! The light shining through will highlight the vibrant colours and intricate design, adding a festive touch to your space.

This craft is a fun and relaxing way to celebrate the holiday season. Whether you make one star or a whole collection, these beautiful creations will bring warmth and joy to your home. Happy crafting!
Photos and blog by Courtney Audette


